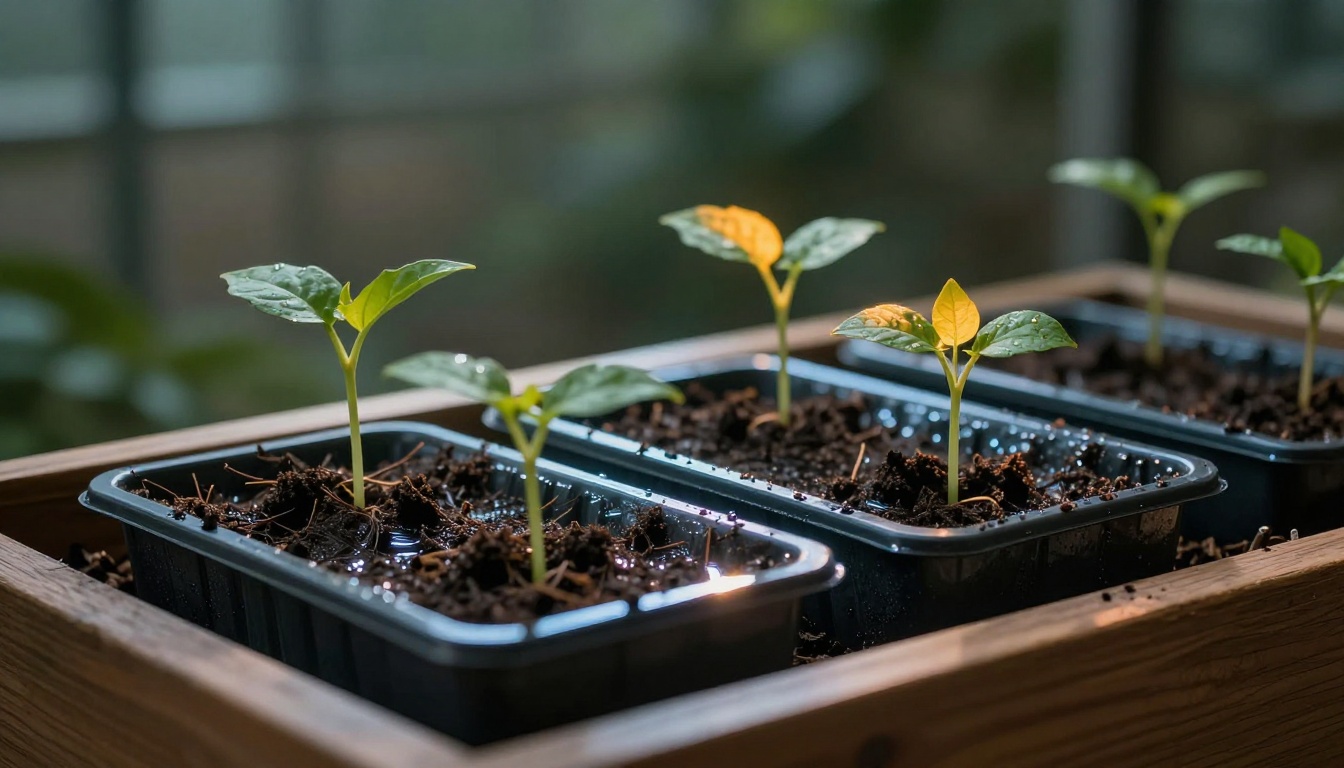
Tired of seedlings wilting in small trays because top-watering leaves some spots too dry and others soaked? You know the drill: water runs off, roots struggle, and half your starts fail before they sprout. Capillary mats fix that mess with simple wicking action. They pull water up from below, so roots get steady moisture without you hovering.
These mats save time, cut disease risk from wet leaves, and deliver even hydration for seeds, cuttings, or microgreens in trays under 2×2 feet. No more daily fuss or guesswork. In this post, you’ll learn how they work, what to buy, setup steps, and tips for thriving plants. Ready to make plant care effortless?
How Capillary Mats Pull Off Perfect Bottom-Watering
Capillary mats work like a sponge sucking up a spill. Water climbs through tiny spaces in the fabric, drawn by surface tension. Roots sip just what they need from the soil above. This bottom-watering beats pouring from above every time.
Top-watering often wets leaves, inviting mold or rot. It also skips crowded tray corners, starving some plants. Bottom-watering keeps foliage dry, hydrates evenly, and runs hands-off once set. Small trays shine here because mats fit snugly, perfect for seed starts or propagation shelves.
Mats come as thick, absorbent sheets from felt, polyester, or cotton blends. They hold water yet release it slowly to match plant thirst. For small setups, this means consistent moisture without drowning. Science backs it: capillary action pulls water up several inches reliably.
Key Features That Make Capillary Mats a Must-Try
High absorbency stands out first. Good mats hold five to ten times their weight in water, so they wick steadily. Durability lets you reuse them for months or years with care.
Premium ones resist algae growth through special treatments. Cheap mats from discount stores soak fast but dry unevenly or tear quick. Quality versions last longer and wick better. Always pick thickness to match your tray depth; thin ones suit shallow small trays to prevent over-wet soil.
Gather These Simple Supplies for Your Small Tray Setup
Start with a capillary mat cut to your tray size. Next, grab a leak-proof reservoir tray one to two inches deep; it holds the water below. Add small grow trays or pots with drainage holes so excess moisture escapes.
Use distilled or rainwater to avoid salt buildup from tap water. A pH tester helps optional checks. Scissors trim the mat neatly. Each piece matters because drainage holes let roots access water without sitting in puddles.
Budget tip: snip mats from hardware store rolls if needed. These basics total under $30 often, ready for indoor or shelf use.
Sizing and Matching Mats to Your Trays
Measure your small tray base first. Cut the mat to cover it fully, with a one-inch overhang for edge wicking. For trays under 2×2 feet, go 1/8 to 1/4 inch thick; thicker risks sogginess.
Garden centers stock them in the US, or order online for quick 2026 delivery. Match depth to avoid weak pull-up in deep pots. Test fit before wetting to save hassle.
Set Up Bottom-Watering in Minutes: Your Step-by-Step Plan
Clear a clean workspace first. Lay everything out to avoid spills. This setup takes under 30 minutes, then plants thrive with minimal input.
Follow these steps for success.
- Flatten the mat in the reservoir tray. Trim edges with scissors for a snug fit.
- Soak it fully in water for 10 to 15 minutes. Wring lightly so it stays damp, not dripping.
- Place small trays on top, pressing down gently for contact.
- Add water to half-inch depth in the reservoir. Watch the mat darken as it wicks in five to 10 minutes.
- Seed or transplant into your trays. Check soil moisture after 30 minutes; top should feel damp, not soggy.
Set a 24-hour reminder for the first full check.
Prep and Place Your Mat Right
Soak time matters because dry mats wick poorly at first. Press trays firm for full contact; gaps cause dry spots. Keep the setup level to spread water even.
Fill the Reservoir and Test the Wick
Start with half-inch water; too much slows wicking for thirsty seedlings. Color change shows it’s working. Adjust depth based on plant speed, like more for basil cuttings.
Plant, Monitor, and Adjust on Day One
Add plants after the test pulls strong. Finger-test soil; adjust water if needed. Most setups stabilize quick, so day one sets the pace.
Unlock Bountiful Growth with These Smart Strategies
Monitor daily with a finger poke or tray weight. Refill when the reservoir drops to one-quarter full. In cool months, use less water because evaporation slows.
Troubleshoot yellow leaves as too-wet signs; cut water and air out. Dry tips mean add humidity or check mat contact. These tweaks keep small trays pumping out healthy starts.
Daily Checks and Quick Fixes for Common Hiccups
Algae shows as green slime; cover reservoirs or rinse with diluted hydrogen peroxide. Flush salts monthly by draining and refilling fresh. Reposition trays for even wicking.
Success looks like perky stems and no wilts. Plants grow fast because roots stay happy.
Boost Results for Specific Plants Like Seedlings or Herbs
Lettuce seedlings love thin seeding in shallow trays; wick keeps surface dry. Tomatoes need deeper pots with steady pull. Herbs like basil thrive under grow lights paired with mats.
Air-dry mats between cycles to extend life. Indoor shelves make year-round wins easy.
Steer Clear of These Beginner Blunders
Don’t submerge mats fully; rot follows fast. Skip drainage holes, and roots drown. Aim pH at 5.8 to 6.5; off levels block uptake.
Overcrowd trays, and competition starves edges. One fix: space seeds better next round. Learn quick, and failures drop.
Bottom-watering with capillary mats delivers healthier roots and effortless care for small trays. Seedlings sprout strong, cuttings root fast, all with less work. You’ve got the steps now.
Try this setup this weekend. Share your results or questions in the comments. Grab a mat today, and watch your plants thrive like never before. What’s your next tray project?