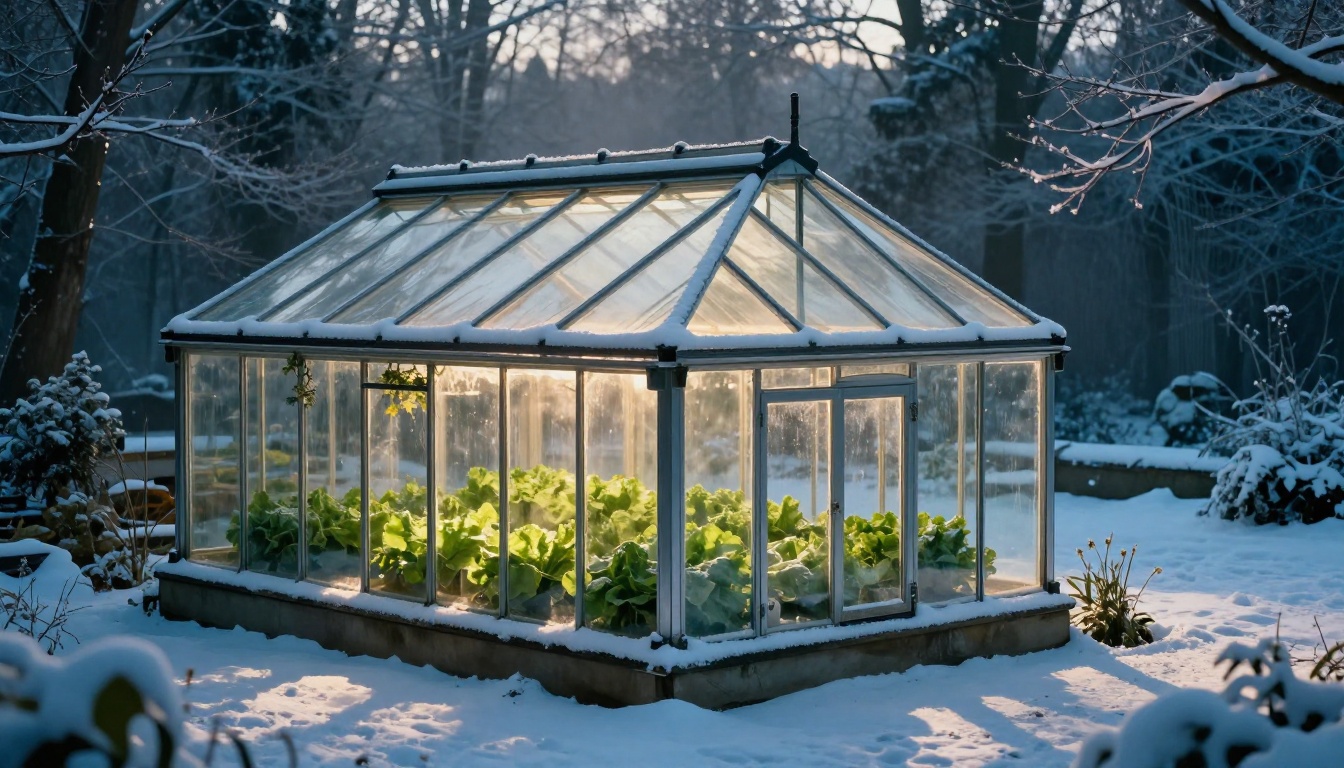
Picture this: it’s mid-January, snow blankets your yard, and you’re staring at leggy lettuce in your greenhouse. You crave fresh salads, but the plants look weak from dim light and cold nights. Proper greenhouse orientation changes that. It grabs every bit of low winter sun for natural warmth and growth.
Winter sun hangs low, so you need to position your structure right. This setup keeps temps higher, cuts heating bills, and lets greens thrive year-round. You’ll save money and hassle.
In this post, you’ll see why it matters, factors to check, a step-by-step guide, and fixes for common issues. Follow along, and your greenhouse becomes a winter powerhouse.
Why Capturing Maximum Winter Sun Transforms Your Greenhouse
Winter days shorten, and the sun rides low. This means less light and heat than summer. Good orientation taps passive solar power. Your greenhouse stays 10-20 degrees warmer without extra fuel.
Plants need full-spectrum light for photosynthesis. Winter rays work fine if you catch them all. Face south, and shadows stay short. North-facing spots get dim and chilly.
Think of it like a south window in your kitchen. Herbs grow strong there. Your greenhouse acts the same way on a bigger scale.
Understanding Low Winter Sun Angles and Paths
The sun arcs low in winter. At noon, it sits 30-50 degrees above the horizon in most US areas. Summer pushes it to 70 degrees or more. This low path starts southeast and ends southwest.
Paths shorten north of 40 degrees latitude. Visualize it as a spotlight sweeping slow across the sky. Stake a stick in the ground on winter solstice. Watch shadows shrink at noon, then grow.
Regional tweaks matter. In Seattle, clouds add shade. Phoenix gets clear low sun. Test your spot first.
Real Benefits for Plants, Wallets, and Your Sanity
Healthy plants avoid leggy growth. They produce twice as much in passive solar setups, per extension services. You’ll harvest spinach and kale all winter.
Energy savings hit 50% on heat. Propane tanks last longer. Electric bills drop too.
You gain fresh food without store runs. Less stress from cold snaps. Your setup pays off fast.
Factors Shaping the Ideal Greenhouse Orientation
Orientation beats just facing south. Check your yard first. Latitude, shade, and structure all play roles. Assess everything for top results.
Start with site survey. Walk the area at noon in December. Note shadows and winds.
Your Latitude and Local Sun Patterns
Northern spots above 40N need steeper south tilts. Southern areas work with flatter roofs. Use sun path charts for your city.
Solstice sun rises southeast, sets southwest. Aim the long axis east-west. Glazed south wall catches most rays.
For example, Chicago demands precise south. Miami allows more flex.
Dealing with Trees, Buildings, and Hills
Scan for shade makers. Deciduous trees drop leaves, so they help in winter. Evergreens block light year-round.
Measure noon shadows in December. A 20-foot tree casts 40 feet north. Trim branches or shift 10 feet south.
Check horizon angles. Hills block low sun. Clear a path if you can.
Greenhouse Shape, Roof Pitch, and Glazing Choices
Hoop houses shine with south glazing. Gable roofs at 30-40 degree pitch reflect light inside. Even-span designs trap heat best.
Avoid tall north walls. They shade south plants. Double-glaze south for max gain.
Step-by-Step Guide to Orienting for Top Winter Sun
Grab basic tools: stakes, string, compass. Test before building. This guide works for new or moved greenhouses.
Follow these steps on a clear day.
Step 1: Mark Sun Paths on Your Site
Pick a sunny day near solstice. Stake points from 9am to 3pm. String lines show the sun’s sweep.
Apps simulate paths with azimuths. South hits 180 degrees. Ensure noon shadow falls north of your planned spot.
Test multiple sites. Pick the sunniest.
Step 2: Align with Compass and True South
Use a magnetic compass. Adjust for declination, often 5-20 degrees east in the US.
Face the largest glazed area true south. For rectangles, ends go east-west.
Check at solar noon via app. Shortest shadow points true north.
Step 3: Fine-Tune and Test Exposure
Build a temp model with cardboard. Use a solarimeter app for full sun hours.
Shift 5-10 degrees for winds or views. Log data first winter. Tweak as needed.
Smart Tips and Fixes to Maximize Every Ray
Orientation sets the base. Add boosts like reflections. These stack gains without big costs.
Maintain seasonally. Clean glazing for clear light.
Boost with Reflections and Heat Storage
Spread white gravel or mylar inside. It bounces light to north corners.
Place water barrels north side. They soak daytime heat, release it at night. Temps stay even.
Avoid These Setup Blunders
East-west axis wastes south sun. Flip it.
Ignore microclimates, and winds cool you fast. Plant windbreaks.
Skimp on south glazing. Add panels later.
Conclusion
Assess latitude, shade, and shape first. Align true south with compass tests. Fine-tune for max winter sun exposure.
You’ll grow strong crops, slash bills, and enjoy fresh eats. Like that January salad dream.
Grab your compass this weekend. Test your site. Share photos in comments for tips. Subscribe for more greenhouse wins. Your winter garden awaits.