Picture this: it’s April 2026, and a brutal heatwave grips your town. Temperatures climb past 105°F during the day, but nights offer no relief. Your home turns into a sauna; sweat soaks your clothes, sleep evades you, and that AC bill just hit $500 for the month. You’re desperate for cool air, but the grid strains, and costs keep rising.
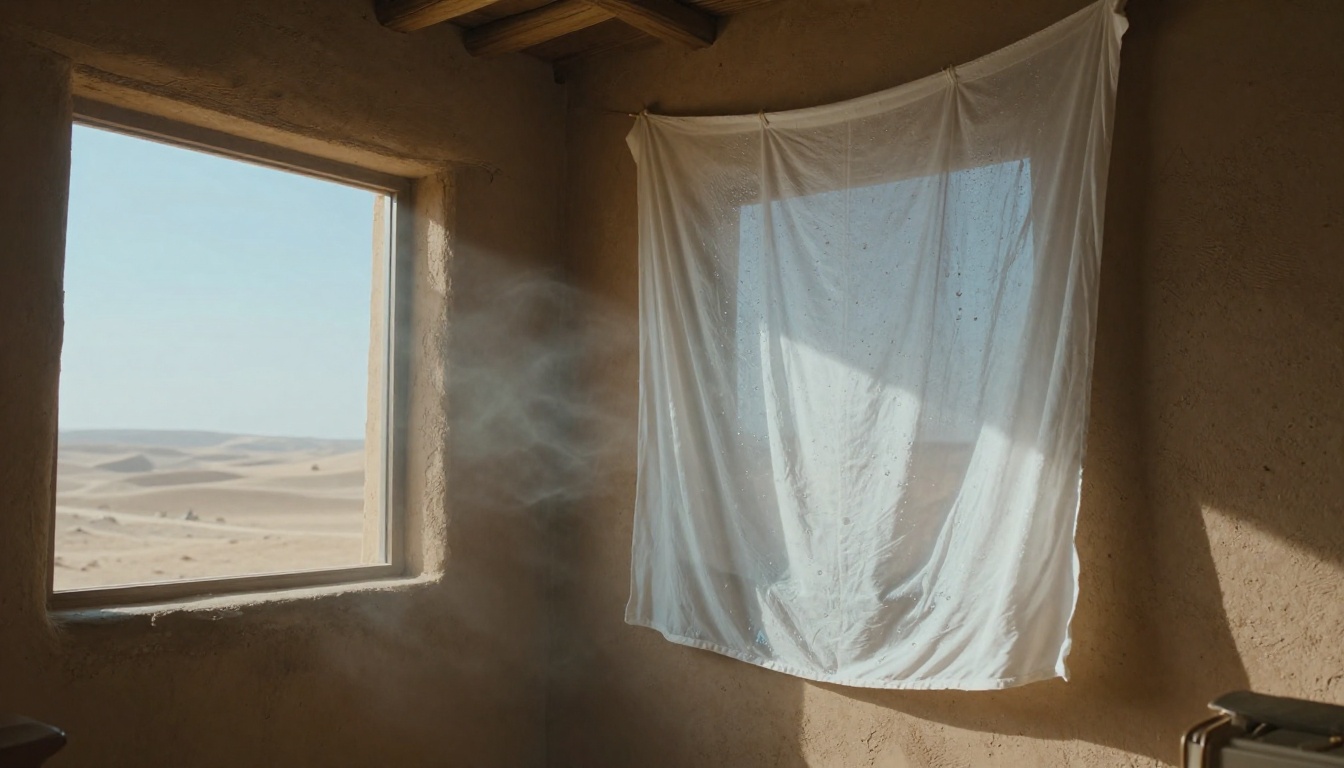
Enter wet walls, an ancient evaporative cooling trick homeowners in dry regions have used for centuries. You simply hang damp sheets or cloths on your walls or windows, and as dry air blows through, water evaporates. This process sucks heat from the room, dropping indoor temps by 10 to 20°F safely, with zero electricity needed. It’s passive cooling at its best, perfect for arid spots like the Southwest deserts or inland valleys where humidity stays low.
Because it relies on evaporation, wet walls work wonders in low-humidity areas; high moisture kills the effect, so check your local climate first. You’ll save big on energy bills compared to cranking the AC, and it’s a simple DIY cooling hack anyone can try. No fancy gear required, just household items.
In this post, we break it down step by step. First, the science behind evaporative cooling makes it click. Then, gather basic supplies like old sheets, a fan, water buckets, and clips. Next, follow our easy setup guide to transform a room in under 30 minutes. We cover safety tips to avoid drips or mold, plus quick maintenance routines.
Get ready for reliable, natural air cooling that beats the heat. You’ll wonder why you didn’t try wet walls sooner. Let’s dive into the details and cool your home today.
Unlock the Science: How Wet Walls Drop Temperatures Through Evaporation
Ever wonder how your body cools off on a hot day? Sweat evaporates from your skin and pulls heat away. Wet walls work the same way. You soak sheets or cloths in water and hang them where air flows through. As the water turns to vapor, it absorbs heat from the room. This drops temperatures by 10 to 20°F in dry conditions.
The process relies on evaporation. Water molecules on porous surfaces like fabric escape into the air. They take energy with them, so the air cools down. However, it only shines when humidity stays low, under 50 percent relative humidity. Dry air holds more moisture, so evaporation speeds up. In muggy spots, the air already feels saturated, and cooling slows to a crawl.
Ancient folks figured this out first. Persians used wet reeds in windows 2,500 years ago to chill their homes. Southwest adobe houses still catch breezes through damp walls today. Best of all, wet walls need no power or chemicals. Unlike AC units that guzzle electricity and spew refrigerants, this method stays safe and cheap. You cut cooling costs as climate change brings more heatwaves.
Here are the key principles of evaporative cooling:
- Evaporation absorbs heat: Water changes phase from liquid to gas and steals warmth from nearby air.
- Dry air drives it: Low humidity lets water evaporate fast; high humidity blocks the process.
- Airflow boosts results: Fans push dry air over wet surfaces for quicker cooling.
- Porous materials matter: Fabrics hold water and let it escape easily.
In short, wet walls mimic nature’s own AC. Now, let’s see why your local air quality makes or breaks the setup.
Why Dry Air is Your Wet Wall’s Best Friend
Humidity plays the biggest role in wet wall success. High moisture in the air slows evaporation to a stop. Your walls stay wet but won’t cool much. So, grab a cheap hygrometer, those digital meters cost under $10 at hardware stores. Check your indoor levels first thing.
Dry spots love this trick. Think deserts like Arizona or Nevada, where summer air hovers at 20-30 percent humidity. Arid inland areas, such as California’s Central Valley, see great drops too. One Phoenix homeowner hung damp sheets by a fan and shaved 15°F off bedroom temps last July. However, coastal or Southern states often hit 70 percent humidity, so results fade.
Pair it with a dehumidifier if needed. Run one for an hour before setup to dry the air. Costs pennies compared to AC.
Try this quick experiment at home. Wet a small towel and hang it near a fan on low. Use your hygrometer to measure room temp and humidity before and after 30 minutes. In dry air, you’ll see a clear drop. A Texas family did this during a humid spell; adding the dehumidifier turned a weak 5°F chill into 12°F relief. Simple tests like that show if it fits your space.
Gather These Everyday Items to Build Your Wet Wall
You can build a wet wall with stuff from your home or a quick dollar store run. No special tools required. Focus on reusable, eco-friendly picks that keep costs low and waste zero. Cotton fabrics work best because they hold water well and let it evaporate fast. Grab these 8-10 basics, and you’re set for cooling.
Here is a quick list of wet walls materials with their roles and sources:
| Item | Role | Approx. Cost | Where to Get | Why Reusable/Eco-Friendly |
|---|---|---|---|---|
| Old cotton sheets or curtains | Main evaporative surface; hangs over windows or frames | $0-$5 | Closet, thrift stores | Wash and reuse all summer; natural cotton biodegrades |
| Burlap sacks | Rough alternative for better airflow | $2-$5 | Dollar stores, farm supply | Durable; compost at end of life |
| PVC pipes or wood scraps | Simple frame to stretch fabric | $5-$10 | Hardware stores, garage scraps | Repurpose scraps; lasts years |
| Plastic tray or bucket | Catches drips; soaks fabric | $0-$3 | Kitchen, garage | Everyday item; recycle plastic |
| Clothespins or clips | Secures fabric to frame or wall | $1-$3 | Dollar stores | Metal/plastic lasts forever |
| Small box fan (optional) | Boosts airflow over wet surface | $10-$20 | If you lack one, Walmart | Energy-efficient; use year-round |
| Digital hygrometer | Measures humidity for best results | $5-$10 | Hardware stores, Amazon | Battery lasts long; check often |
| White vinegar | Mix with water to prevent mold | $2 | Grocery store | Natural, non-toxic; multipurpose |
| Spray bottle | Keeps fabric damp between soaks | $1 | Dollar stores | Refill endlessly |
| Duct tape | Quick fixes on frames | $3 | Hardware stores | Sticks to everything; versatile |
Most items cost pennies or nothing if you repurpose. Cotton breathes, so evaporation happens quick. Vinegar keeps things fresh without chemicals. All these choices cut plastic waste and save resources.
Budget Breakdown: How Cheap Can This Get?
Build your first wet wall for under $25 if you skip the fan and hygrometer. Add those, and total hits $45 max. Repurpose old curtains from the attic; they soak up water perfect. No need for new buys.
Check this minimal setup:
| Setup Type | Total Cost | Key Savings Tip |
|---|---|---|
| Bare bones (sheets, bucket, clips, vinegar) | $6 | Use garage junk for all else |
| Full kit (adds frame, hygrometer, fan) | $42 | Thrift sheets save $20 alone |
| One AC filter (for comparison) | $25 | Replaces monthly; wet wall lasts season |
One AC filter runs $25, and you swap it often. Your wet wall? Reusable for years. Soak it once a week, and it drops temps 10-20°F free.
Picture the savings. A basic fan plus wet wall uses 50 watts an hour. Run it 8 hours nightly for 90 summer days. At 15 cents per kWh, that’s $5.40 total. Compare to AC at $100+ monthly. Plug your numbers into a quick calculator: days times hours times rate. You’ll save hundreds. Why pay more when household items cool your home? Start small, feel the chill, then scale up.
Easy Steps to Install Wet Walls and Feel the Cool Air Fast
You can set up wet walls in about 30 minutes flat. This quick process pulls cool air into your space right away. First, gather your sheet, bucket, clips, and water. Wring the fabric well so it stays damp, not sopping. Over-wetting causes drips on the floor, a common slip-up. Mix in a teaspoon of salt or fresh herbs like mint during soaking. Herbs add a fresh scent, and salt helps a bit too. Now, follow these five straightforward steps.
- Choose a window or wall spot with good airflow.
Pick places where breezes flow naturally. This sets up strong evaporation. More details on top spots below. - Build or hang a simple frame.
Use PVC pipes or wood scraps to make a rectangle that fits your window. Lash it together with duct tape for stability. No frame? Drape the sheet straight over the sill with clips. Keep it taut so air passes through easily. - Soak the fabric in water.
Fill your bucket with cool water and vinegar (1 cup per gallon). Submerge the sheet fully for two minutes. Add salt or herbs now if you want. Wring it out firmly over the bucket. It should feel heavy and moist, ready to evaporate. - Secure it in place over the opening.
Hang the damp sheet on your frame or sill. Use plenty of clips along edges and bottom. Tuck the bottom into your drip tray. Smooth out wrinkles for even airflow. Double-check for gaps where warm air sneaks in. - Direct breeze through it.
Open another window across the room for passive pull. Or add a fan for extra kick. Boost tips come right after this.
Run a quick test. Let it sit for 20 to 30 minutes. Feel the air change, or check your hygrometer. You should notice a 10-degree drop in dry conditions. Adjust as needed, then enjoy the chill.
Perfect Spots in Your Home for Maximum Cooling
Start with windows facing prevailing winds. In many US dry areas, these blow from the southwest or west during summer afternoons. Feel for natural drafts first; that’s your cue. Bedrooms top the list because cool sleep matters most. Hang wet walls there at night for deep rest. Living rooms follow close, perfect for evening hangs or family time.
Skip kitchens entirely. Stove heat and cooking steam fight the cooling effect. Bathrooms stay off-limits too; shower humidity slows evaporation to nothing.
Houses offer more options. Use large picture windows or pair opposite ones for cross-breezes. Stretch a full sheet across both for max flow. Apartments work great too, but focus smaller. Target balcony sliders or single bedroom windows. Clip fabric to tension rods inside the frame. No balcony? A north-facing window pulls cooler air in most spots.
Picture a bedroom window catching that evening gust. Air glides through the damp sheet, chilling the whole room. Test spots by hanging a dry sheet first. Feel the pull, then commit.
Boost It with Fans or Natural Breezes
Passive cooling comes first. Open an opposite window or door. Dry outside air rushes through the wet sheet naturally. This pulls heat out without power. Rely on breezes alone in mild wind.
Fans make it stronger, mimicking a swamp cooler. Place a box fan right in front of the wet wall, blowing into the room. Air hits the damp fabric and cools fast. Or set it behind to suck air through. Keep speed low to save energy. One user in dry Nevada added a fan and gained 8 extra degrees of drop.
At night, vent fully. Open all house windows when temps fall below indoors. Flush hot air out, then seal up and deploy wet walls by morning. Close shades during peak sun too. This combo drops daytime highs reliably.
You control the boost level. Start passive, add fan if needed. Feel the difference and tweak for your setup.
Safety First: Protect Your Home and Health with Wet Walls
Wet walls cool your space fast, but safety keeps them working right. You avoid big problems like mold or slips if you stay smart. Plus, this method beats a dirty AC unit that breeds bacteria and leaks refrigerant. Follow simple rules, and you stay cool without worry. We cover key risks and fixes here, so you handle them easy.
Start with mold prevention. Dry your sheets daily because standing water invites growth. Rinse them in a vinegar-water mix (1 part vinegar to 4 parts water) before hanging. Vinegar kills spores naturally. Check fabrics every morning; take them down at night to air dry fully.
Water damage stays low too. Always place trays or buckets below to catch drips. Seal window edges with duct tape or foam strips if needed. This stops floors from warping. Clean up spills right away, so moisture never soaks in.
Dust on old sheets can stir allergies, so shake them out first. Wash fabrics weekly in hot water with baking soda. It pulls out allergens without harsh chemicals. Fresh sheets mean cleaner air for everyone.
Fans add power, but plug them into grounded outlets. Keep cords away from water buckets. Turn off when not in use. This cuts shock risks.
Keep kids and pets safe. Hang walls high or use barriers so little hands stay away from wet spots. Supervise play near setups. Pets might chew fabrics, so pick sturdy clips and check often.
Stop using wet walls over 60 percent humidity. Your hygrometer tells you when; high moisture slows cooling and boosts mold. Pull sheets if walls feel constantly damp.
Renters, check your lease first. Most allow window hangs, but ask your landlord. Use removable clips to avoid damage claims.
Here are key safety rules in one spot:
- Dry sheets fully each night; no overnight hangs.
- Use vinegar rinses weekly to fight mold.
- Set trays under every setup for drip control.
- Wash fabrics often to dodge dust and allergens.
- Ground fans and keep cords dry.
- Watch kids and pets around wet areas.
- Quit at 60 percent humidity or damp signs.
You control these steps, so wet walls stay safe and effective. Next, we zoom in on mold spots.
Spot and Stop Mold Before It Starts
Mold loves wet, dark spots, but you catch it early. Look for black or green spots on fabrics first. Musty smells hit next, or walls feel slimy. Check corners and folds daily because mold hides there.
Prevention starts with a schedule. Hang sheets only during peak heat, say 2 p.m. to 8 p.m. Take down by bedtime. Air dry them outside in sun. Sunlight kills spores fast. Wipe frames weekly with vinegar solution too.
Natural cleaners work great. Mix baking soda and water into a paste for tough spots; scrub gently then rinse. Hydrogen peroxide (3 percent) sprays kill mold on contact without bleach fumes. Tea tree oil drops in rinse water add extra guard.
Quick fixes save the day. Spot mold? Yank the sheet immediately. Soak in hot vinegar water for 30 minutes. Scrub with a brush, rinse well, and dry in sun. Replace if spots linger. Test air with your nose; fresh means good to go.
You spot trouble fast, so it never spreads. Stay on this routine, and your wet walls chill safely all summer.
Maintain Your Wet Walls for Non-Stop Summer Comfort
Keep your wet walls running smooth, and they deliver cool air all summer long. Simple habits prevent mold, drips, and weak performance. You invest little time but gain reliable relief from heat. Plus, good care extends their life for years. Follow this routine, and your setup stays fresh and effective.
Daily Refresh and Checks
Start each day with quick updates. Pour out old water from the bucket and refill with cool tap water plus a splash of vinegar. This keeps evaporation strong and fights bacteria. Wring your sheet again if it feels dry, then rehang it taut.
Check for drips right away. Wipe any spots on the floor or sill. Empty the tray fully so it catches the next round. These steps take five minutes but stop slips and damage. In addition, shake the fabric outside to remove dust. Fresh air flows better as a result.
Weekly Washes and Inspections
Deep clean once a week to build longevity. Remove the sheet and soak it in hot water with baking soda. Scrub gently, rinse well, and dry in direct sun. Sun kills lingering spores fast. Meanwhile, inspect your frame for loose clips or bends. Tighten with duct tape if needed.
Vinegar wipes on the frame add protection. Test the hygrometer too; note trends in a small journal. You spot patterns, like rising humidity, before they hurt cooling. These habits make your wet walls last seasons without replacement.
Fix Issues and Upgrade for More Chill
Not cooling enough? First, measure humidity; over 50 percent stalls evaporation, so wait it out or use a dehumidifier. Next, boost airflow with a fan reposition or open windows wider. Low water or wrinkles block results too, so adjust.
For upgrades, try multi-layer walls. Hang two damp sheets with space between for double evaporation. One homeowner stacked layers and dropped temps 5 extra degrees. Track savings by logging fan hours and bills; a summer notebook shows hundreds saved.
Store setups in fall by washing everything dry. Roll fabrics loosely in a breathable bag. Stack frames flat in the garage. Come next heatwave, pull them out ready. You enjoy non-stop comfort year after year.
Conclusion
Wet walls offer a cheap setup that drops temps 10-20°F safely. You use household sheets, buckets, and clips for evaporative cooling. No big bills hit like that $500 AC shock from the heatwave.
This DIY method stays easy and secure. Daily rinses with vinegar prevent mold, so you chill without worry. In addition, fans boost airflow for even better results.
Try wet walls this week as 2026 heat ramps up. Share your temp drops and savings in the comments. Subscribe for more green hacks like passive cooling tips.
Sustainable living wins big against rising temps. Your home stays cool, your wallet stays full.